What do you want to book?

Hotel in Småland by Isaberg

Hestraviken is a charming hotel on the banks of the Nissan River in Småland, surrounded by beautiful nature and peaceful surroundings. Here, personal service, relaxation, and culinary experiences come together in a harmonious atmosphere – ideal for a nature getaway in southern Sweden.

Meetings Close to Nature in Sweden

Hestraviken offers inspiring meetings and conferences in a peaceful, nature-filled setting in Småland, Sweden. Here, productive gatherings are combined with first-class dining and personal service. With flexible meeting rooms, modern technology, and unique experiences, we create conferences that truly make a difference.

Dine Well with Us in Småland

At Restaurant Hestraviken, we serve seasonal dishes crafted with local ingredients and great care – offering dining experiences beyond the ordinary. With a warm atmosphere and scenic views, it’s the perfect setting for both relaxing dinners and memorable meals in the heart of Småland, Sweden.

Nature Spa Retreat in Småland

Riverside Spa at Hestraviken offers a peaceful escape with warm pools, saunas, and scenic views of the Nissan River in Småland, Sweden. Here, you can unwind in a harmonious natural setting and enjoy a moment of wellness and relaxation – no matter the season.

Tips and Advice for MTB Cycling


Perfect starting point for mountain biking beginners

Your Guide for Mountain Biking

With Isaberg’s varied terrain and clearly marked trails, it’s an ideal place to start your MTB journey. Whether you’re a complete beginner or looking to develop your skills, there are trails suitable for all levels. No bike of your own? No worries – you can easily rent modern mountain bikes for both children and adults directly on-site.

Are you a beginner at mountain biking?

Here, we’ve gathered some useful tips and advice that can be helpful to you.


1) You don’t have to ride on the narrowest trail with the biggest roots right away. It’s more fun to feel like you’re mastering the bike and not failing immediately.

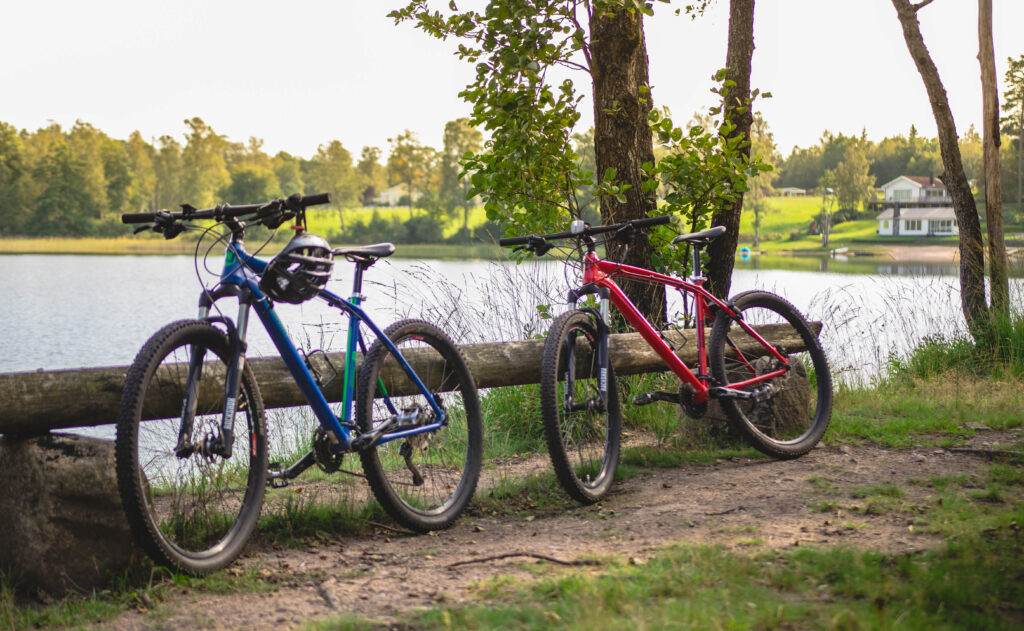
2) Do balance training on your bike as a warm-up. Get to know the brakes and gears. Experiment with shifting your weight. What happens?

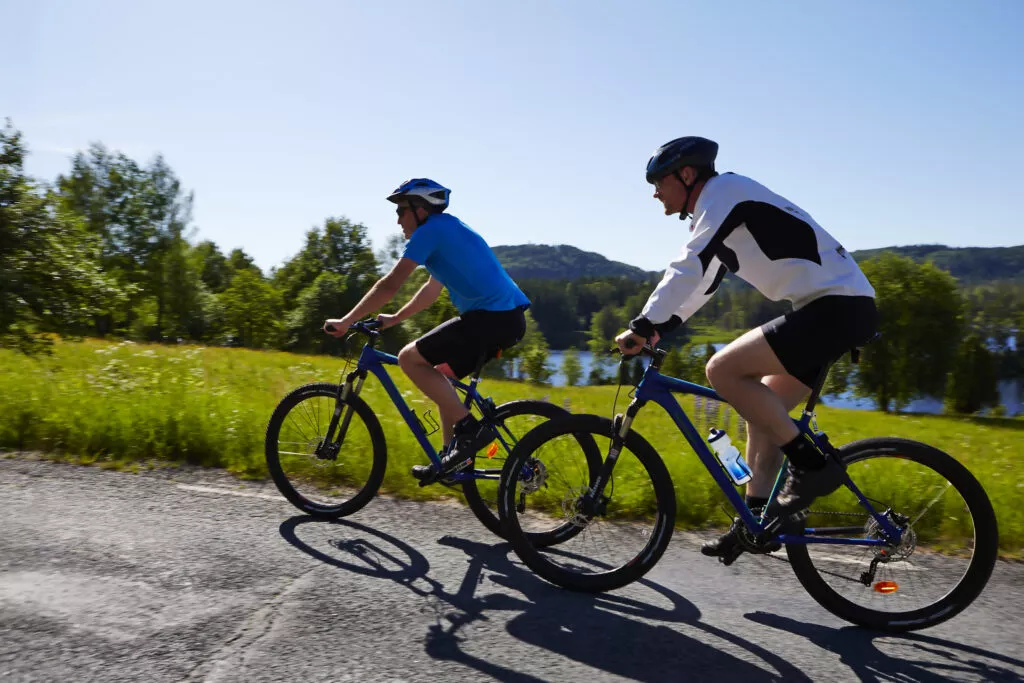
3) Start on the asphalt or gravel road! Try an uphill section and shift to the right gear before the incline. Beginners on mountain bikes need to become friends with the bike. The forest goes up and down, it turns and moves. And it’s not asphalt! Learn timing with brakes and gears and find your flow on easy trails. Go!

4) Gradually increase the difficulty. Ride slow and fast, try different paths, learn to make decisions, and understand how your tires behave with your weight shift. On an uphill, you need to put weight on the front wheel; on a downhill, you need to push your hips back to balance. You will clear obstacles more easily with sudden shifts and pressure from the ground, but this is something you’ll learn later.

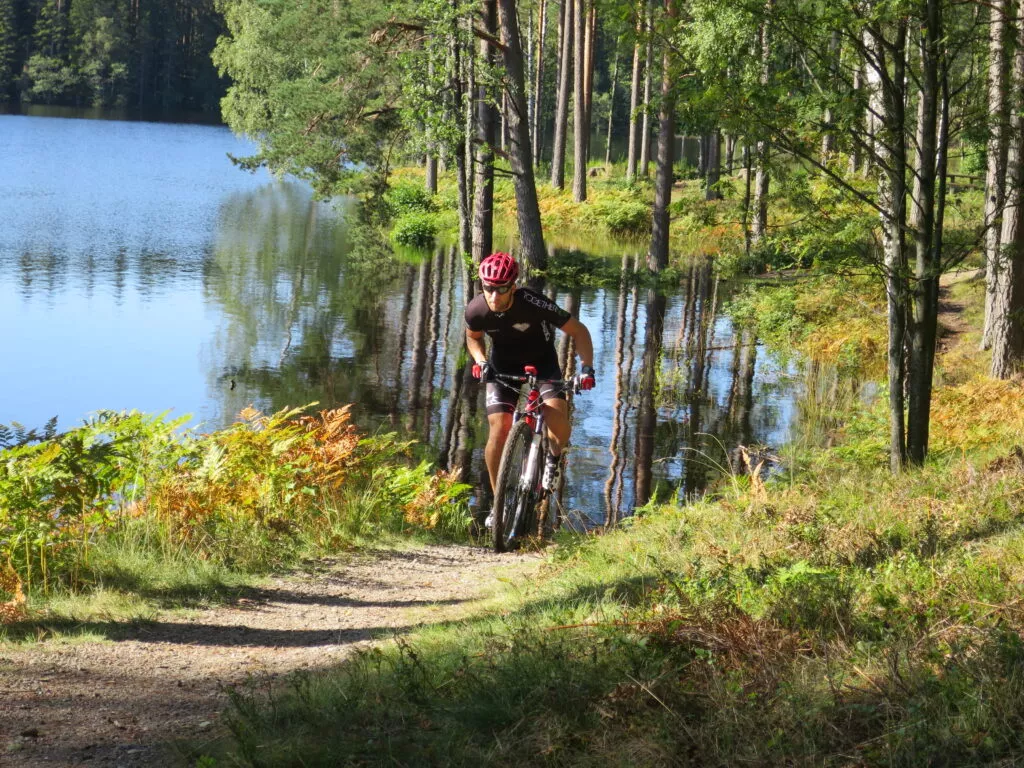
5) Dare to ride with speed! With speed, you’ll get over roots and obstacles much easier. It’s when you hesitate that you get it wrong. Go for it with a “now let’s do this” attitude in short sections at a time, and ride with focus.

6) Don’t make it unnecessarily hard. Wet roots are more challenging than dry ones. When you’re a beginner, avoid riding in the rain during your first few rides.

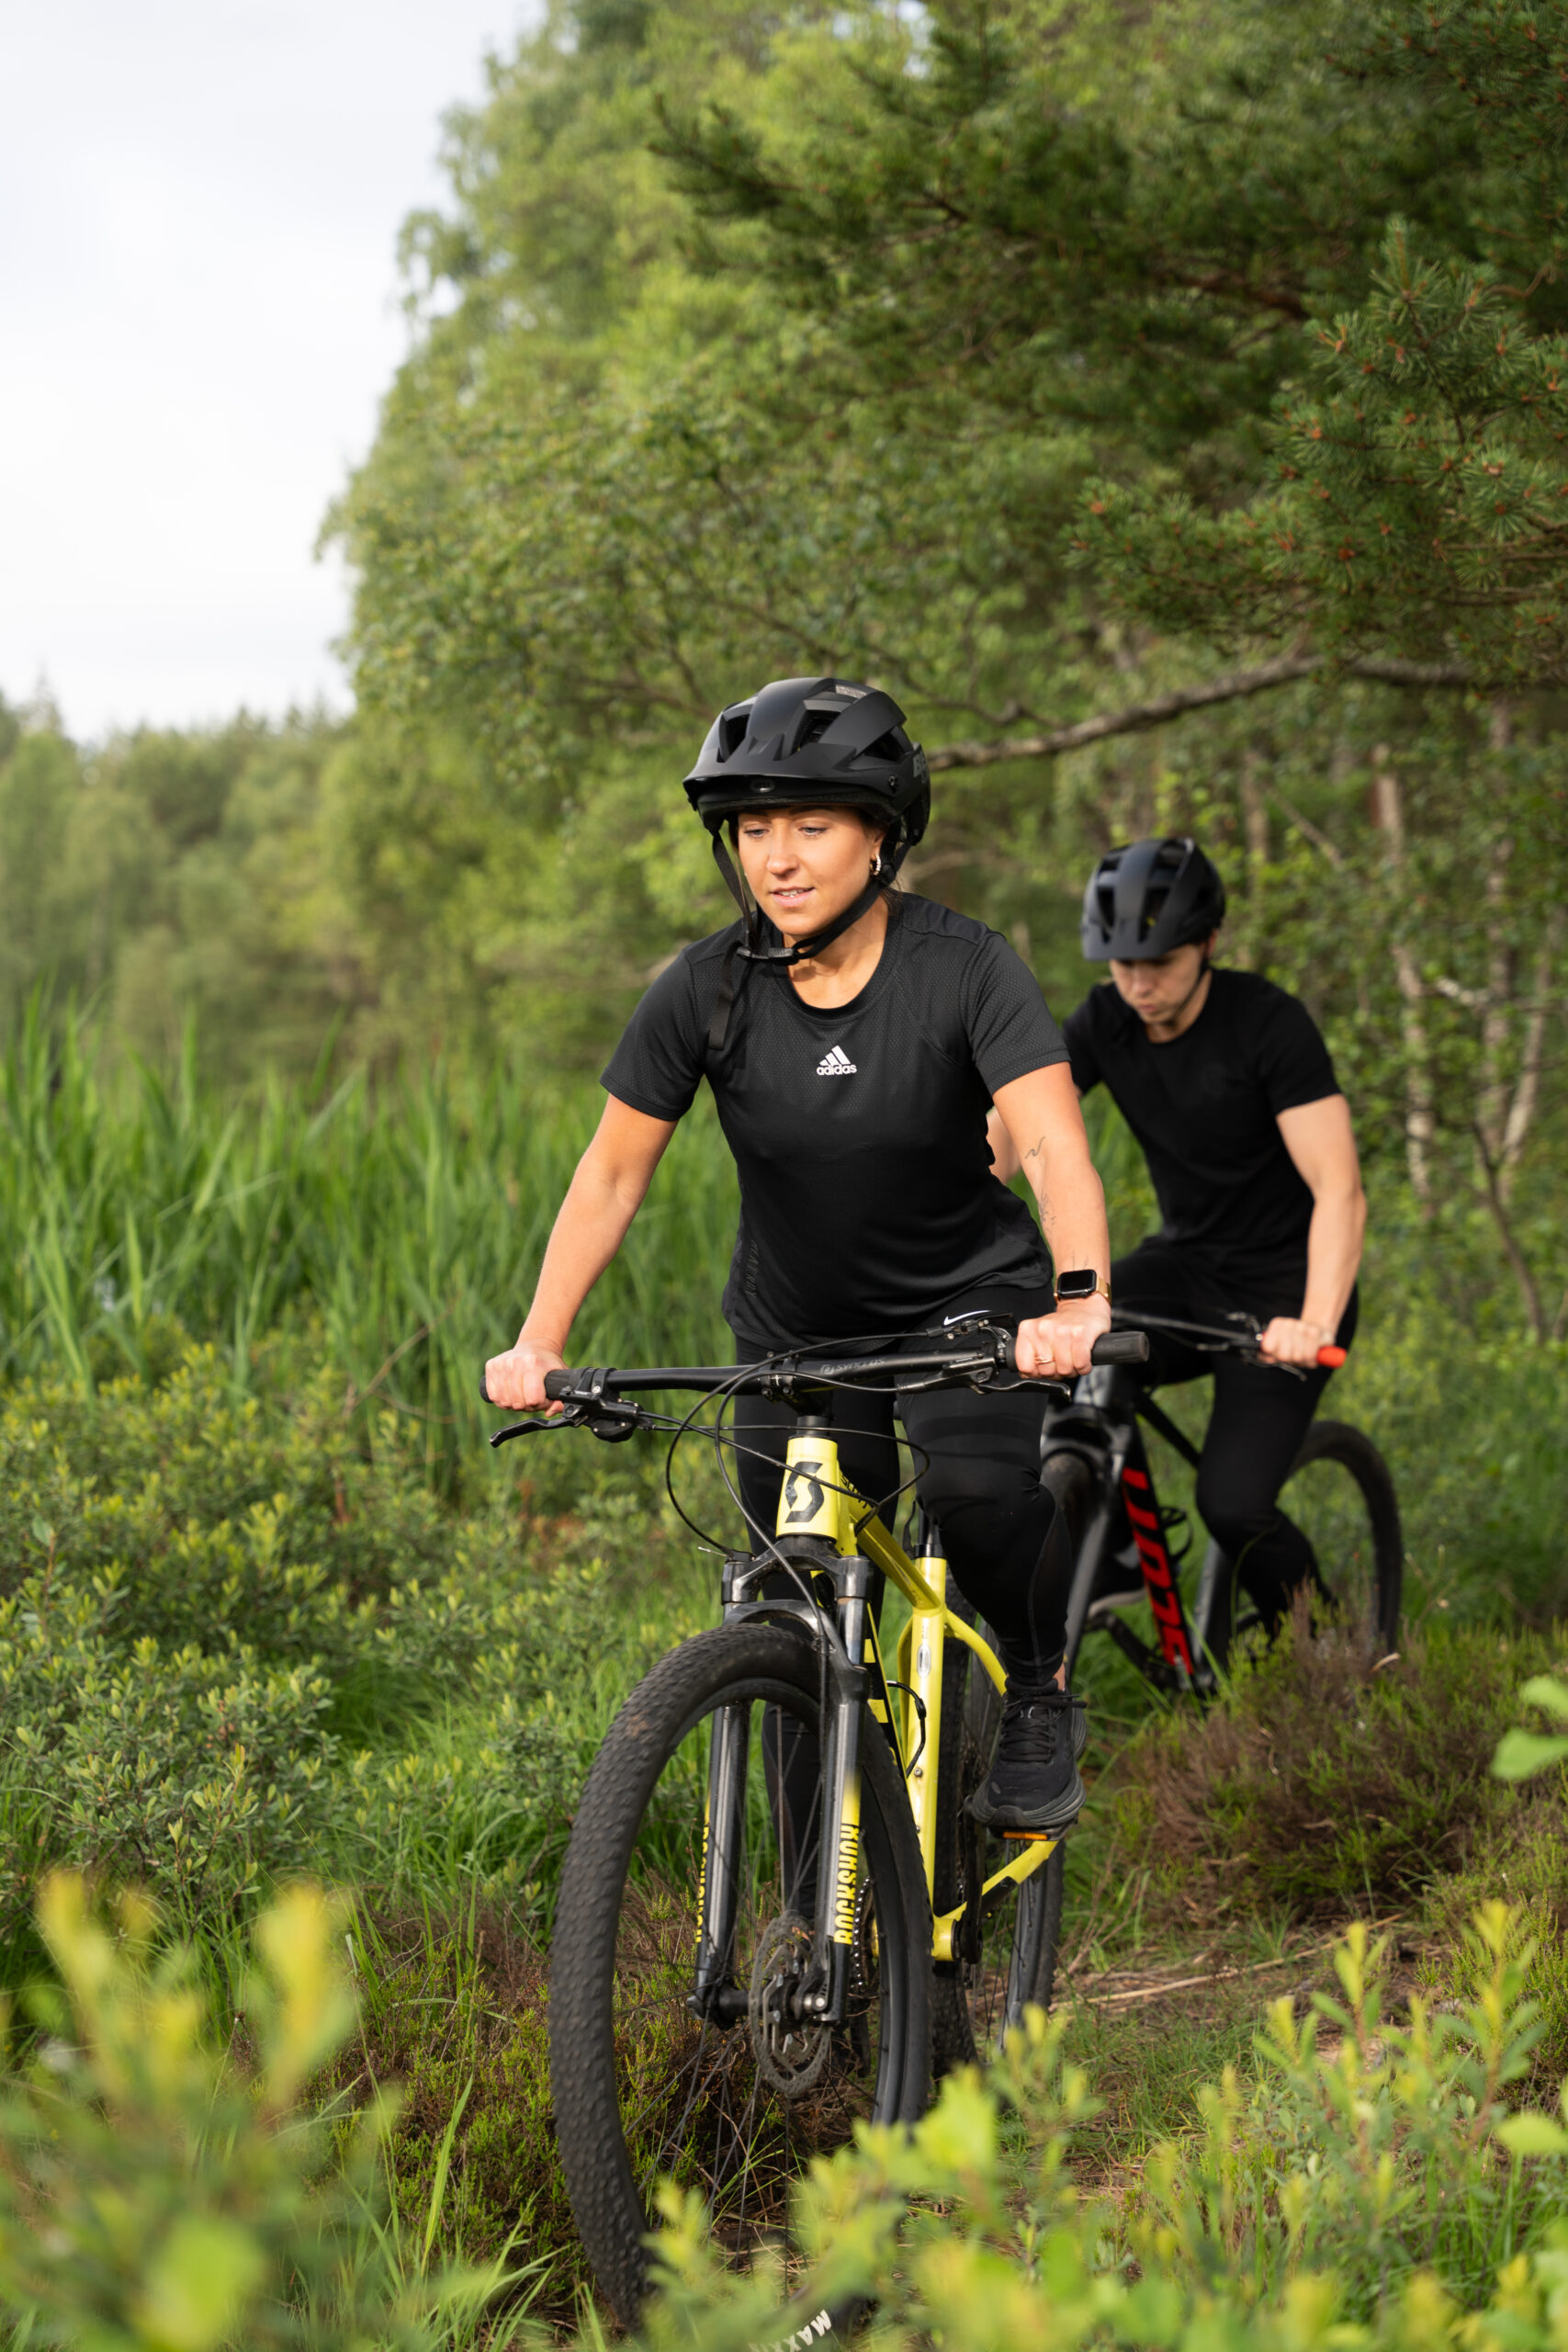
7) Ride with a group or a friend. Ask for advice and tips. It’s okay to be a beginner!

Tjej och kille cyklar längs Pink Lady-leden vid Algustorpasjön på Isaberg, omgivna av grönskande natur i Småland.
Important

How to Shift Gears on a MTB Bike

Using the gears correctly on a mountain bike is crucial for a smooth and efficient ride, especially in varied terrain. Here are some basic tips:

Understand the gear shifters
Most MTB bikes have two gear shifters:

The left shifter controls the front derailleur and is used to switch between the large and small chainrings.

The right shifter controls the rear derailleur and is used to adjust between the smaller gears on the cassette.

Choose the right gear for the terrain

Uphill: Use a lighter gear (small front chainring and larger rear cog) to reduce resistance.

Downhill: Shift to a heavier gear (large front chainring and smaller rear cog) to maintain a steady speed.

Flat ground: Adjust the gear for smooth pedaling depending on your speed.

Shift while pedaling
Gears work best when you’re pedaling while shifting. However, avoid putting too much pressure on the pedals when shifting, especially during steep climbs – this can wear out the chain and gears.

Avoid cross-chaining
Cross-chaining occurs when you use the largest chainring in the front with the largest cog in the back (or vice versa). This puts strain on the chain and can negatively affect shifting. Keep the chain as straight as possible.

Practice to get comfortable
It takes time to get used to the gear system, especially if you’re new to MTB cycling. Practice shifting in different situations to find what works best for you.

With the right gear handling, your rides will be both more enjoyable and less exhausting, whether you’re cycling through forests, up hills, or on gravel roads.


Important

How to Brake Correctly on a Mountain Bike

Braking effectively and safely is an important part of mountain biking, especially when riding in technical or hilly terrain. Here are some tips for handling your brakes like a pro:

Get to know your brakes
Most mountain bikes are equipped with two brake levers:

  • The front lever (usually on the left) controls the front wheel brake.
  • The rear lever (usually on the right) controls the rear wheel brake.

Use both brakes
For effective and controlled braking, it’s important to use both the front and rear brakes.

  • Front brake: Provides the most braking power but requires careful handling to avoid locking the front wheel or shifting too much weight forward.
  • Rear brake: Helps stabilize the bike, especially on loose surfaces.

Modulate braking force
Avoid squeezing the brakes too hard – it can cause the wheels to lock up, reducing control and potentially causing you to skid. Instead, apply pressure softly and gradually, adjusting your braking as needed.

Shift your weight back
When braking hard, especially on steep downhills, shift your weight back over the saddle to avoid putting too much pressure on the front wheel and to reduce the risk of going over the handlebars.

Plan your braking
Brake before reaching technical sections, such as sharp turns or obstacles, so that you have better control through the section. Try to avoid braking mid-turn – it can cause you to lose grip.

Keep your fingers ready
Always keep at least one finger on each brake lever so you can react quickly when needed.

Important

How to Pump a Bike with a Presta Valve Using an Adapter

How to Pump a Bike with a Presta Valve Using an Adapter

If you have a bike pump or are using one that only works with regular valves (Schrader valves), you will need an adapter to pump a bike with a Presta valve (also known as a racing valve). Here’s how to do it:

Prepare the valve
Unscrew the small brass nut at the top of the Presta valve.
Press briefly on the valve to release some air and ensure it’s not stuck.

Attach the adapter
Screw the adapter onto the valve. It looks like a small metal sleeve and allows the Presta valve to have the same width as a regular valve.
Check that the adapter is tightly fitted to avoid air leakage.

Attach the pump
Place the pump’s nozzle over the adapter (now the valve works like a regular Schrader valve).

Pump the tire
Pump the tire slowly and evenly. Check the pressure by feeling.
Follow the recommended air pressure for the tire, which is often listed on the side of the tire.

Mountain bike tires: 1.8–2.5 bar (26–36 psi).

Too low pressure: If the tire compresses too much when you press with your thumb, it can lead to pinch flats or difficulty rolling.

Too high pressure: If the tire feels rock hard, you will lose grip and comfort.

Road bike tires: 6–8 bar (87–116 psi).

Remove the pump and adapter
Carefully remove the pump from the adapter.
Unscrew the adapter from the Presta valve.

Seal the valve
Screw the brass nut back onto the Presta valve to seal it.

Now your tire is pumped and ready! With the adapter, you can easily use a standard pump to fill your Presta valves with the correct air pressure.